Week 14: Composites
On Wednesday 04/05/16 as usual we watched Neil's lecture which was very interesting. I found the list of vendors especially useful, because these items are had to aquire in Cyprus. Sometimes you are not even sure what you are buying over the internet.
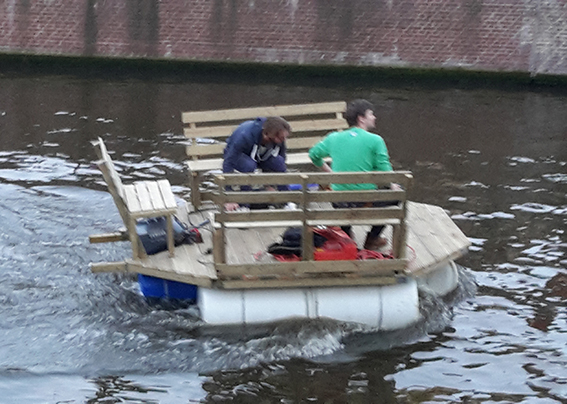
Thursday 05/05/16 was again a public holiday for The Netherlands so we did not have the local lecture. I had a lot of fun watching people cruising the canals of Amsterdam with any construction imaginable and I begun to think of what I wanted to make!
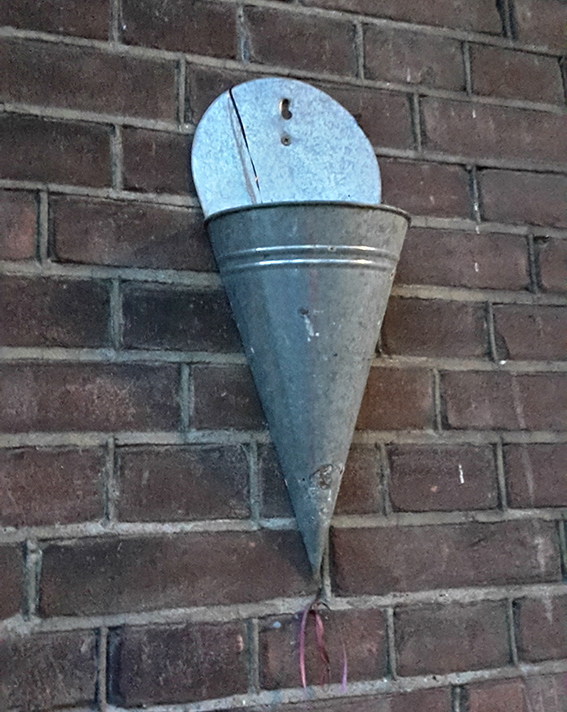

On Friday 06/05/16 we had the local lecture which was indeed very clear and informative, packed with imagery which I found very helpful :-) On the way home, I saw a little metallic cone-shaped flower pot which I thought was really cute and I slowly began thinking of how I could make something out of it. I watched Saverio Silli's demonstration video on how to make test pieces also called 'coupons' and I got a clearer image of ewhat we are asked to do.
Saturday 07/05/16 Since I have had my experience with clamping and I have on the contrary always had 'adventures' with vacuum forming, I decided that I wanted to do a one part mould. On that day I begun flirting with the idea of making a marijuana leaf lamp, which I found challenging. I abanoned the idea because it would be hard to keep the layers of burlap aligned while doing the vacuum. I could use clothes pins to hold them in place, but I was worried that they could burst the bag, so I thought it best to start simple!
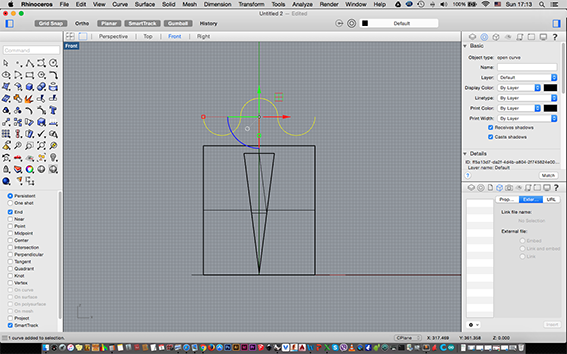
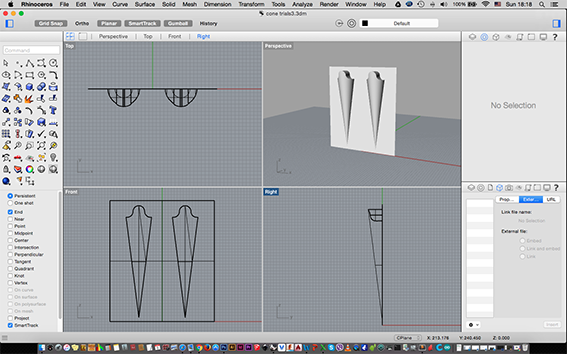
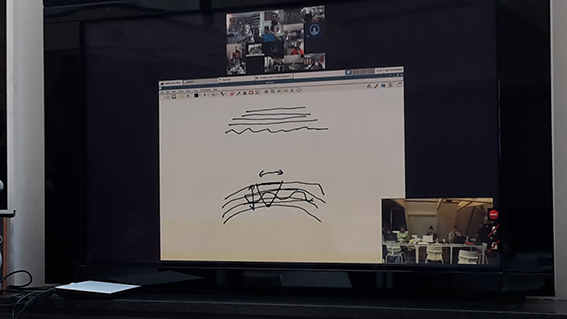
On Sunday 08/05/16 I drew a cone-shaped 'hanger' that will potentially be able to be utilized in plenty of other ways. I had a bit of a hard time thinking how I would draw it and I watched this tutorial on making lofts in Rhino but I ended up simply drawing it with booleans. I placed two cone-shaped-hangers on the same surface in the hope that I will be able to make two and look at how they interact together.
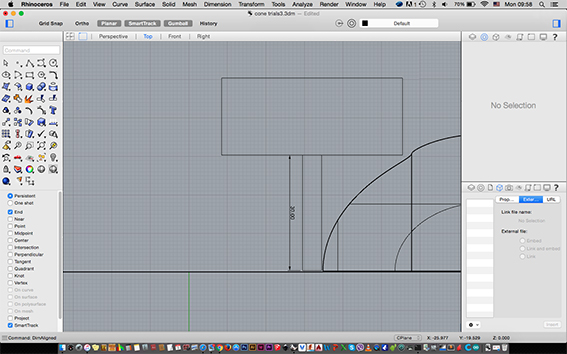
On Monday 09/05/16, just as I arrived at the Fab Lab and sat on the ShopBot chair, I realized that I had drawn my shapes a little taller than the machine could take, so I had to modify them before I could begin the setup. Depth seems to be a limitation when it comes to this type of machining. One should always keep in mind the height of the spindle or may be required to cut their mould in sections if there is a need for a thicker/taller final product. On the other hand a taller object may be achieved by laser-cutting the mould, but as I understood that has it's limitations too. You cannot apply too much pressure so the layers of the end product may not become solid. Another disadvantage is that you almost always need to destroy the mould to get the object out. That means that you cannot make multiple objects, that you are wasting material, time etc
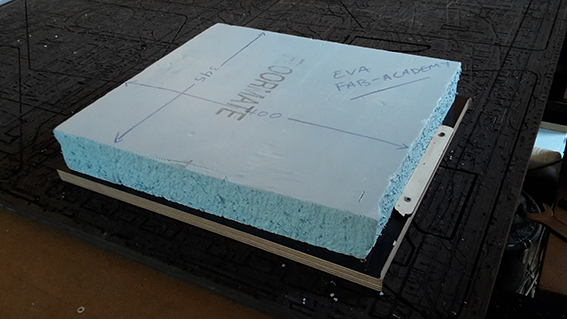
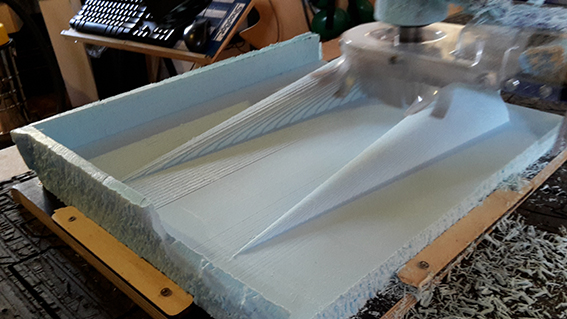
I stuck my piece of polystyrene down with double-sided tape and I also 'wedged' some pieces of wood around it to hold it in place. After that I once again remembered how long it takes to set up the machine! Although I am a little more experienced now, there are some things that get confusing and time-consuming. This time it was the machine's X and Y axis set up, but I restarted the operation from the beginning, re-imported the file and I managed to get it to zero correctly.
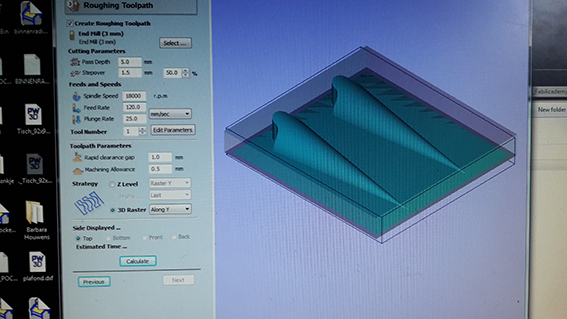
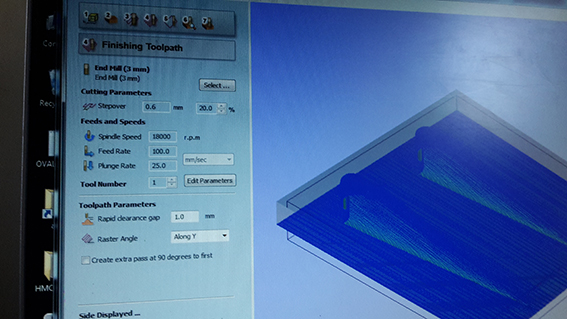
For the roughing job, I used a feed rate of 120 and a plunge rate of 25 after trying several values and calculating the time. I went by what seemed logical to me judging by the previous experience of milling plywood and wax. I used a 5mm endmill because my shapes had some fine tips and curves that I wasn't sure how they would mill with a larger endmill. For the finishing job, I used a feed rate of 100 and a plunge rate of 25, and the same endmill.

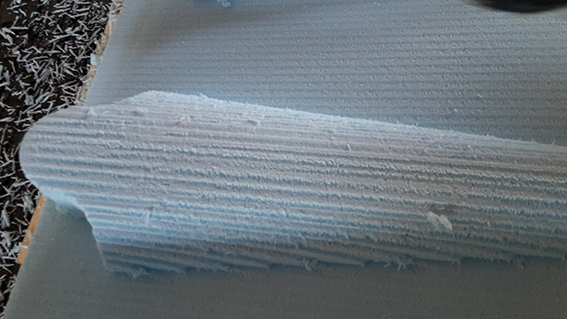
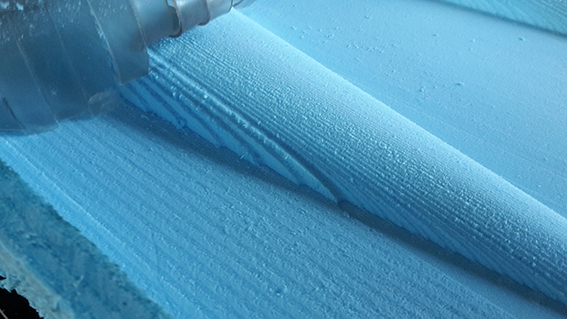
I was quite suprised and excited by how fine the final result was. At the beginning I thought that I would have to sand it by hand to give it a final fine touch but in the end I didn't need to.
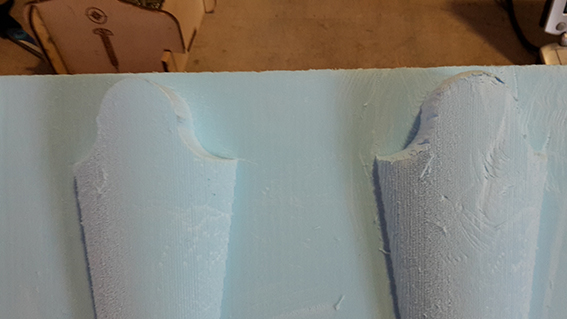
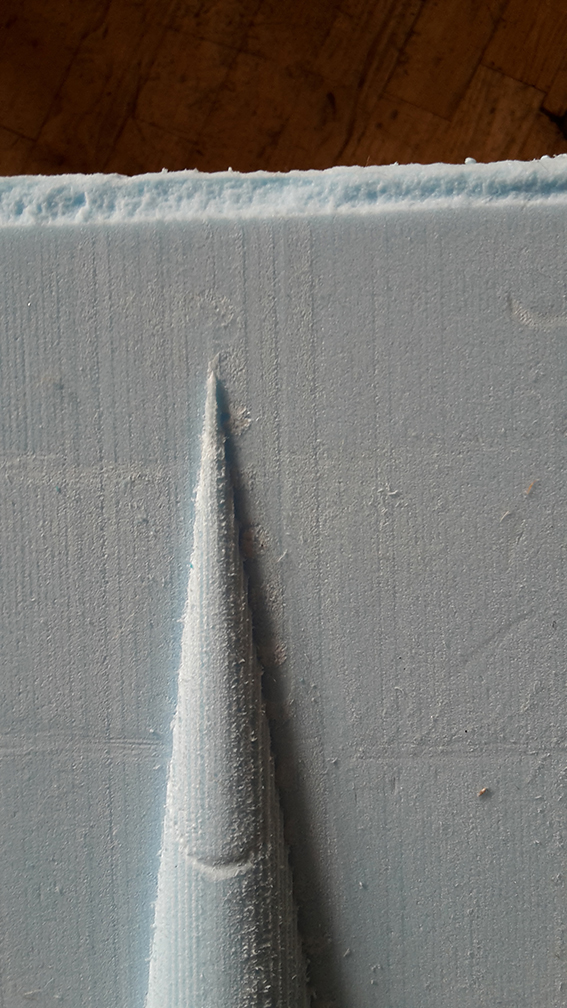
Despite the fact that the finishing was indeed fine, giving me very pointy tips, the polystyrene got some injuries at the end of the job. I got a nail-shaped indent at the same point on both moulds. One of the moulds also ended up a little more messy than the other one. In the first case, I assume that the marks and indents were created by the machines 'skirt' although I had lifted it as high as I could (that sounds suspicious and rude!).
All in all, I was quite happy with the result and I didn't think that the indents would be a problem in vacuum forming. This final result of the ShopBot may be a problem when casting other materials so I would suggest to anyone to take the skirt off - if possible if they are going to be casting plaster, porcelain or any other sensitive material.
I found the use of polystyrene extremely quick and effective despite what one my think. It was very ast to machine and provided a very good end result. If I had used wood for my mould there is a good chance I would still be milling!
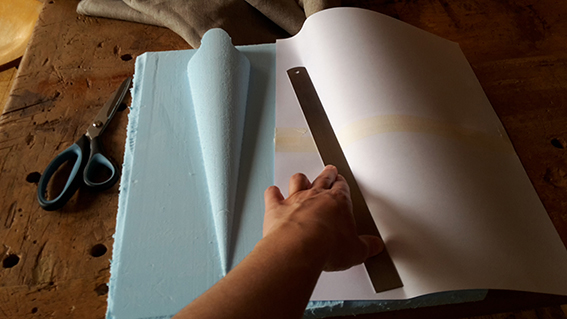

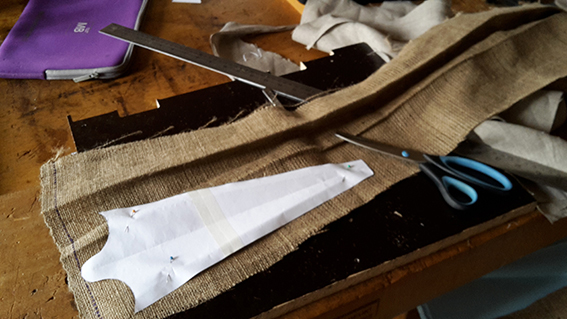
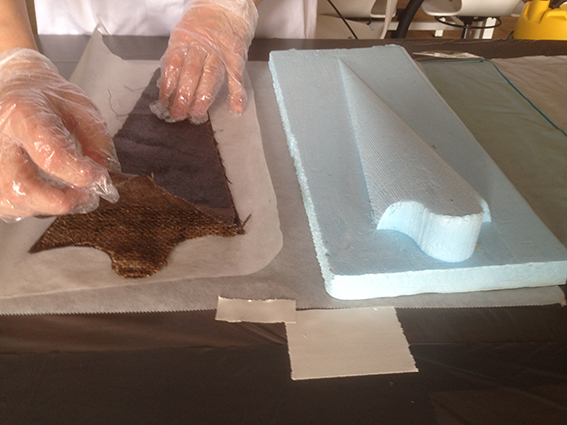
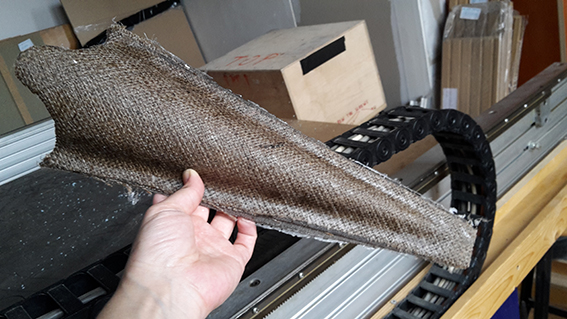
Tuesday 10/05/16 I knew that the laser was going to be very busy by my class-mates so I decided that I was going to put my upholstery skills to good use. Although I had watched this YouTube video about the 'unrolling' command in Rhino, I was quite looking forward to making the template myself out of paper and then cutting the pieces with the scissors and scalpel, so I proceeded with that. I must admit that I got a lot of suprised looks and it seemed that everyone who walked in the room was asking me the same question 'By hand??'. I cut three layers of cotton for each mould section and two pieces of burlap. I put the burlap layer first because I liked it's texture and then I also sandwiched one in right before the last layer. I did this because burlap is more absorbent than cotton and I thought that it would strengthen my coat hangers.
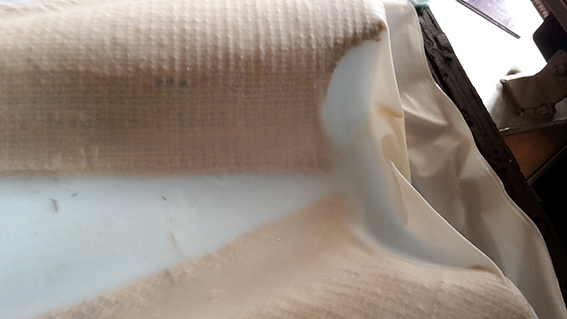
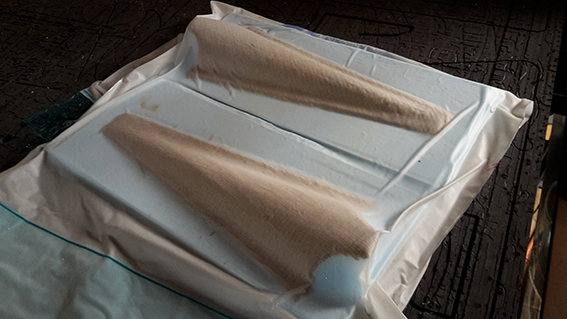
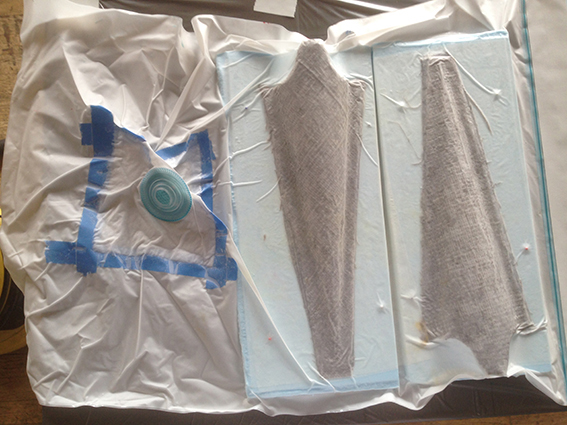
After my hand-cut pieces were done, it was time for dry vacuuming. I tried a few options where one was too close to the vacuum bag valve and the other was leaving big air pockets, so I decided to cut the mould in two and place them in opposite directions. This did the trick.
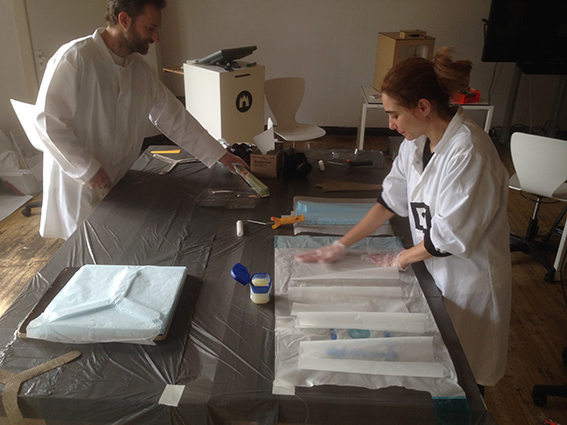
We had already agreed that we were all going to do the epoxy part together so we could have the room to ourselves, be able to protect ourselves as well as the surfaces and ventilate correctly.
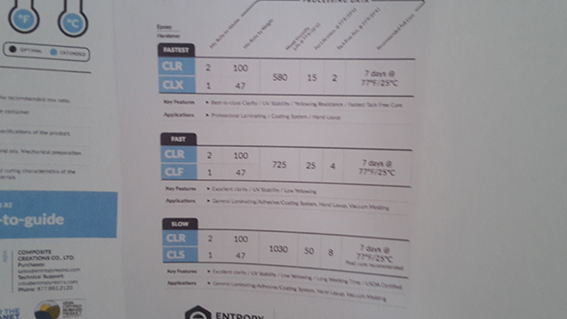
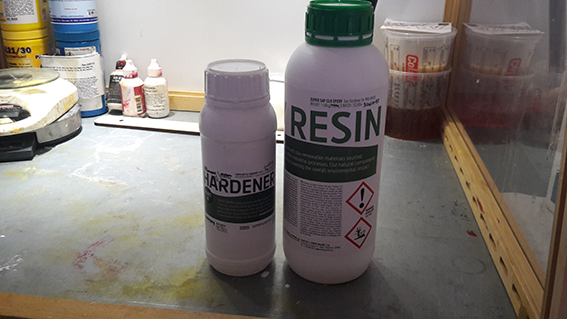
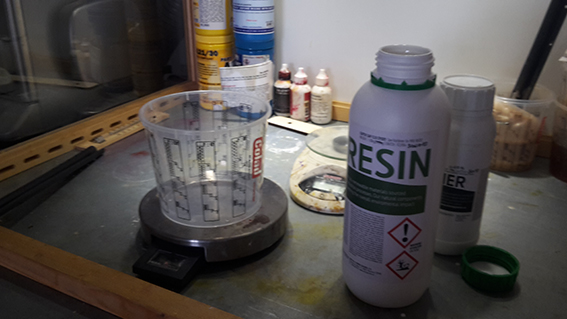
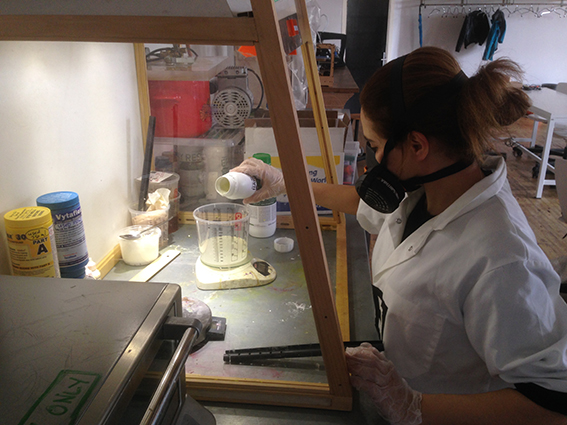
I was put in charge of mixing the solution and figuring out the ratio because I had made a mistake with that in Moulding and Casting Week! This time we did it by weight because Mickael suggested that it gives a better result. We decided to do the 'fast' solution which required 100 of Epoxy and 47 of Hardener. We did dousble the dosage so I mixed 200 with 94.
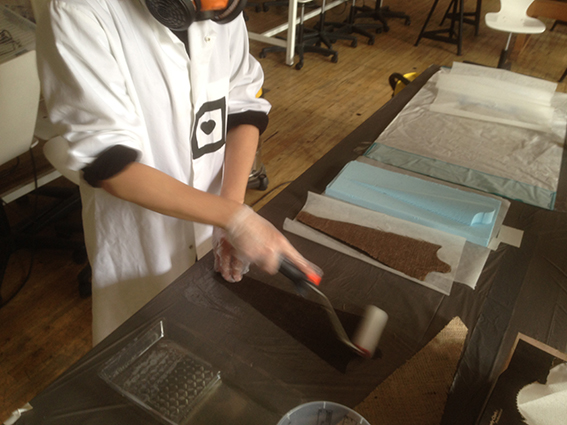
The rest of the process was pretty straightforward. I applied the solution on both sides of each layer using a roller and I sandwiched them between pieces of kitchen paper covered in vaseline. I then ran my fingers up and down so I could get an even surface.
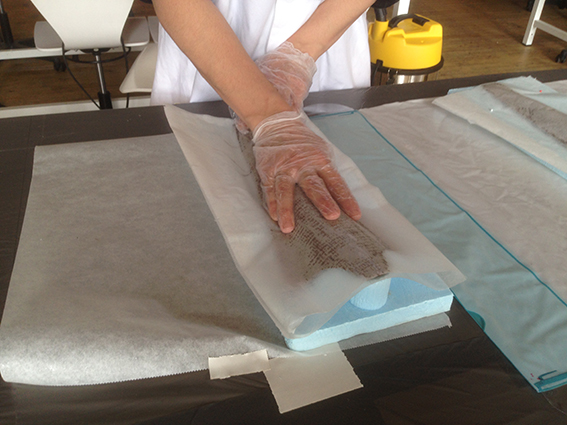
I used four pins to hold the first one in place while doing the second and I used pins on that one too so that the insertion in the bag would not be too tricky. All application should be done in 25 minutes because the solution would start to dry.
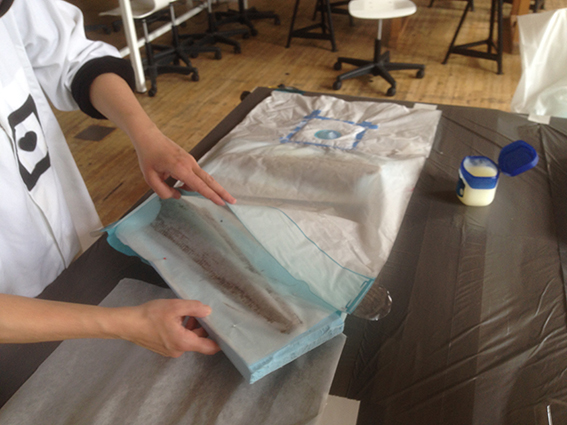
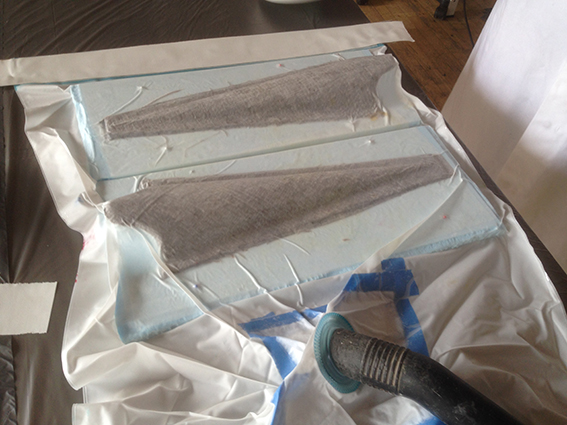
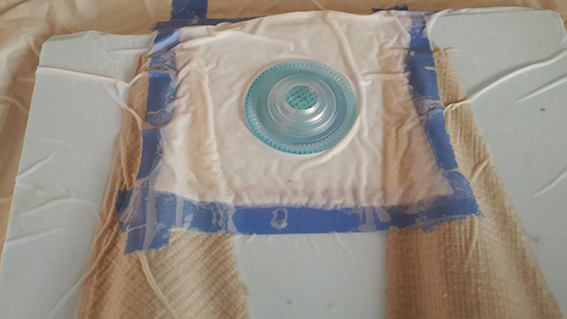
I put them in the vacuum bag and sucked out the air with the workshop hoover.
I left them to dry ovenight.
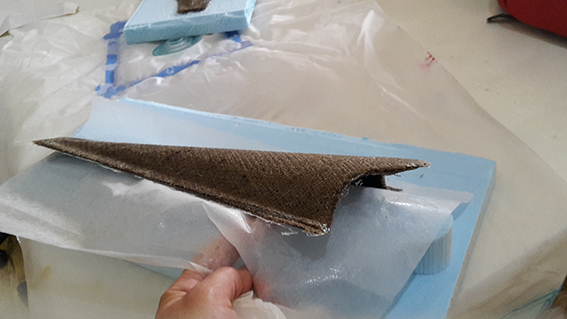
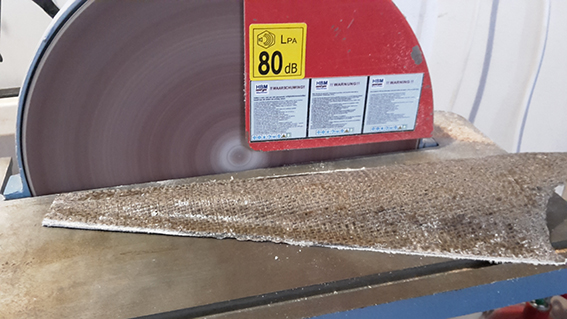
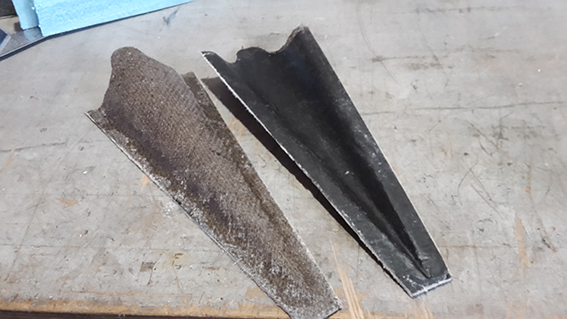
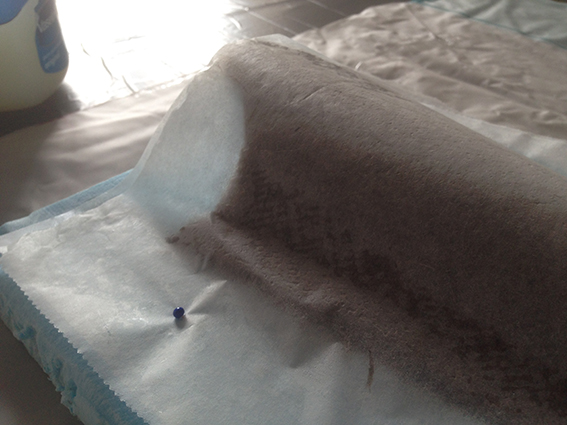
In the morning, I quite easily took them out of the mould and wiped them a little bit to get them a little cleaner from the vaseline. I sanded them while wearing the mask and I am quite happy with the result. The plan is to drill holes on their sides and fix them on the wall. Of course if I had cut my fabric on the laser it would be possible to also cut the holes. So I will do this next time!!
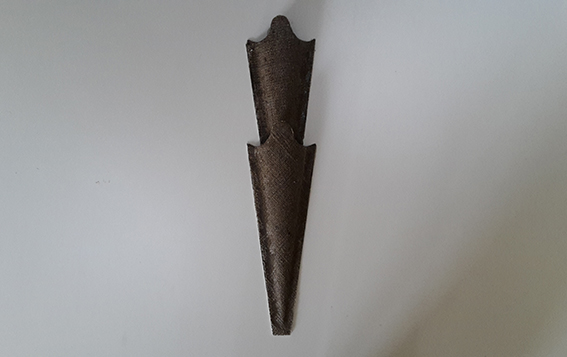
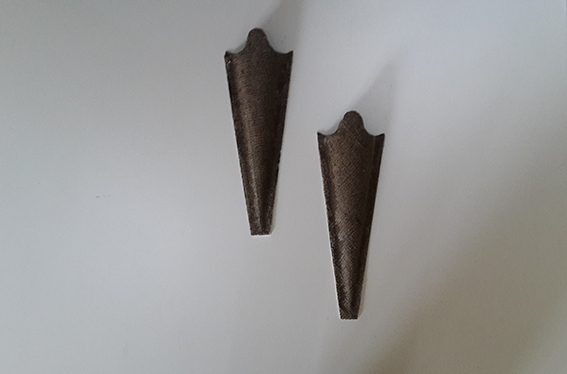
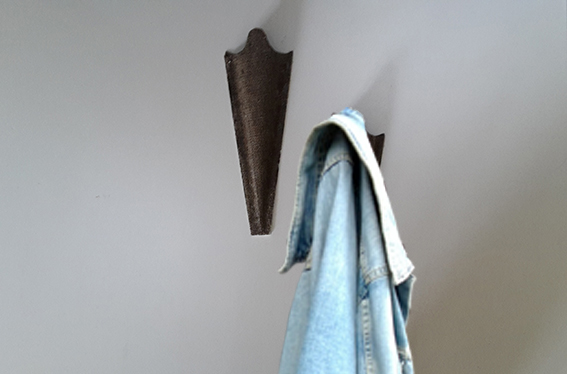
Hangers to be placed on the wall in any way the user pleases! Looking back I would have liked to cut the material with the laser cutter but I probably needed to manage my time a little better, since we also missed one day because of the holiday. I will try to get back to this if I get the time.
Rhino - File Composites Lecture Back to Weekly Assignments Home